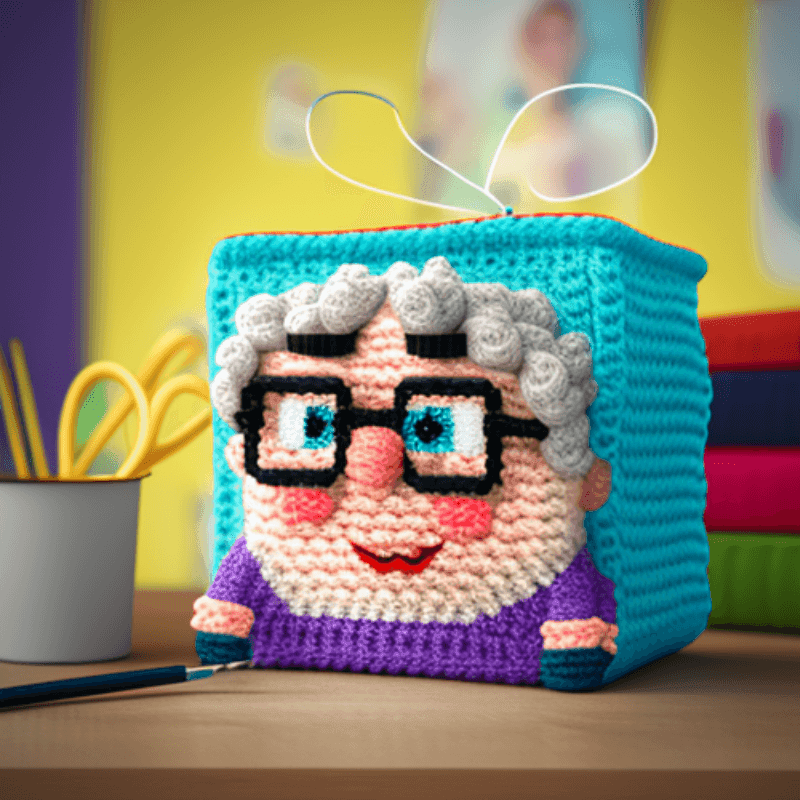
Are you ready to join the granny square craze and learn how to crochet this timeless classic? Look no further! This comprehensive guide will walk you through everything you need to know to crochet a perfect granny square.
Before we dive in, let's go over a few things you'll need to get started:
- Crochet hook (size will depend on the yarn you choose)
- Yarn (any type and color will do)
- Scissors
- Yarn needle (for weaving in ends)
Got all your supplies ready to go? Great! Let's get started.
Step 1: Make a Slip Knot
The first step in any crochet project is making a slip knot. To do this, wrap the yarn around your fingers as shown in the diagram below, then pull the loop on the right through the one on the left. Next, tighten the knot by pulling on the ends of the yarn.
Step 2: Crochet a Chain
Next, we'll crochet a foundation chain. Hold the slip knot in your left hand and the crochet hook in your right hand. Wrap the yarn over the hook from back to front (this is called a "yarn over" or "yo") and pull it through the slip knot to create a new loop on the hook. This is your first chain stitch.
Continue crocheting chain stitches until you have the desired number of stitches. For example, you'll need at least three chain stitches for a granny square.
Step 3: Crochet a Round of Double Crochet Stitches
Now it's time to start crocheting the granny square itself! We'll start by crocheting a round of double crochet stitches. To do this:
- Start by skipping the first chain stitch (creating a little "chain" loop at the top of the granny square).
- Work a double crochet stitch into each remaining chain stitch. To work a double crochet stitch, yarn over, insert the hook into the next chain stitch, yarn over and pull up a loop, yarn over and pull through two loops on the hook, yarn over and pull through the remaining two loops.
Step 4: Crochet the Second Round
To crochet the second round of the granny square, we'll need to increase the number of stitches. To do this, we'll crochet two double-crochet stitches into each stitch of the previous round.
To crochet the second round:
- Start by chaining 3 (this will be your first double crochet stitch).
- Work two double crochet stitches into each stitch of the previous round.
- When you reach the corner, work 3 double crochet stitches into the same stitch to create a sharp corner.
- Continue working double crochet stitches and increasing at the corners until you have completed the round.
Step 5: Crochet the Third Round
To crochet the third round of the granny square, we'll again increase the number of stitches. This time, we'll crochet three double-crochet stitches into each stitch of the previous round.
To crochet the third round:
- Start by chaining 3 (this will be your first double crochet stitch).
- Work three double crochet stitches into each stitch of the previous round.
- When you reach the corner, work 3 double crochet stitches into the same stitch to create a sharp corner.
- Continue working double crochet stitches and increasing at the corners until you have completed the round.
Step 6: Crochet the Fourth Round and Beyond
To add crochet rounds of the granny square, continue increasing the number of stitches and working them into each stitch of the previous round. Remember to work 3 double crochet stitches into each corner stitch to maintain the sharp corners of the granny square.
You can crochet as many rounds as you'd like to make your granny square as big as you want. Just be sure to end each round with a slip stitch into the top of the starting chain 3 to complete the round.
Finishing Up
Once you've completed the desired number of rounds for your granny square, it's time to finish up. Simply cut the yarn, leaving a long tail, and use a yarn needle to weave in the ends.
Congratulations, you've just completed your very own granny square!
Tips and Tricks
Here are a few tips and tricks to help you perfect your granny squares:
- Use a stitch marker to mark the beginning of each round. This will help you track where you are and make it easier to count stitches.
- Experiment with different yarns and hook sizes to create granny squares in various sizes and textures.
- Mix and match colors to create vibrant and unique granny squares.
- Don't be afraid to make mistakes! Crocheting is all about trial and error, and a granny square's beauty is that mistakes can easily be hidden within the design.
Conclusion
This tutorial has helped you learn how to crochet a granny square. With a little practice, you'll be cranking out these classic crochet creations in no time. Happy crocheting!

